
Yea, I know, that’s not really a thing, but it rhymes. And the next thing we are going to create is basically a “negative” power-up so it’s kinda descriptive. It will spawn as part of the same system and work in all the same way except it subtracts something instead of adding. So far, we have the following power-ups: Ammo, Health, Triple Shot, Speed, Shield and our Spiral super shot. Our question is, which one do we want to ding? When I first thought about it, Ammo seemed the only reasonable choice, or at least the easiest. As I look at the list now, most or all of them would have worked as well, so they might come back up later.
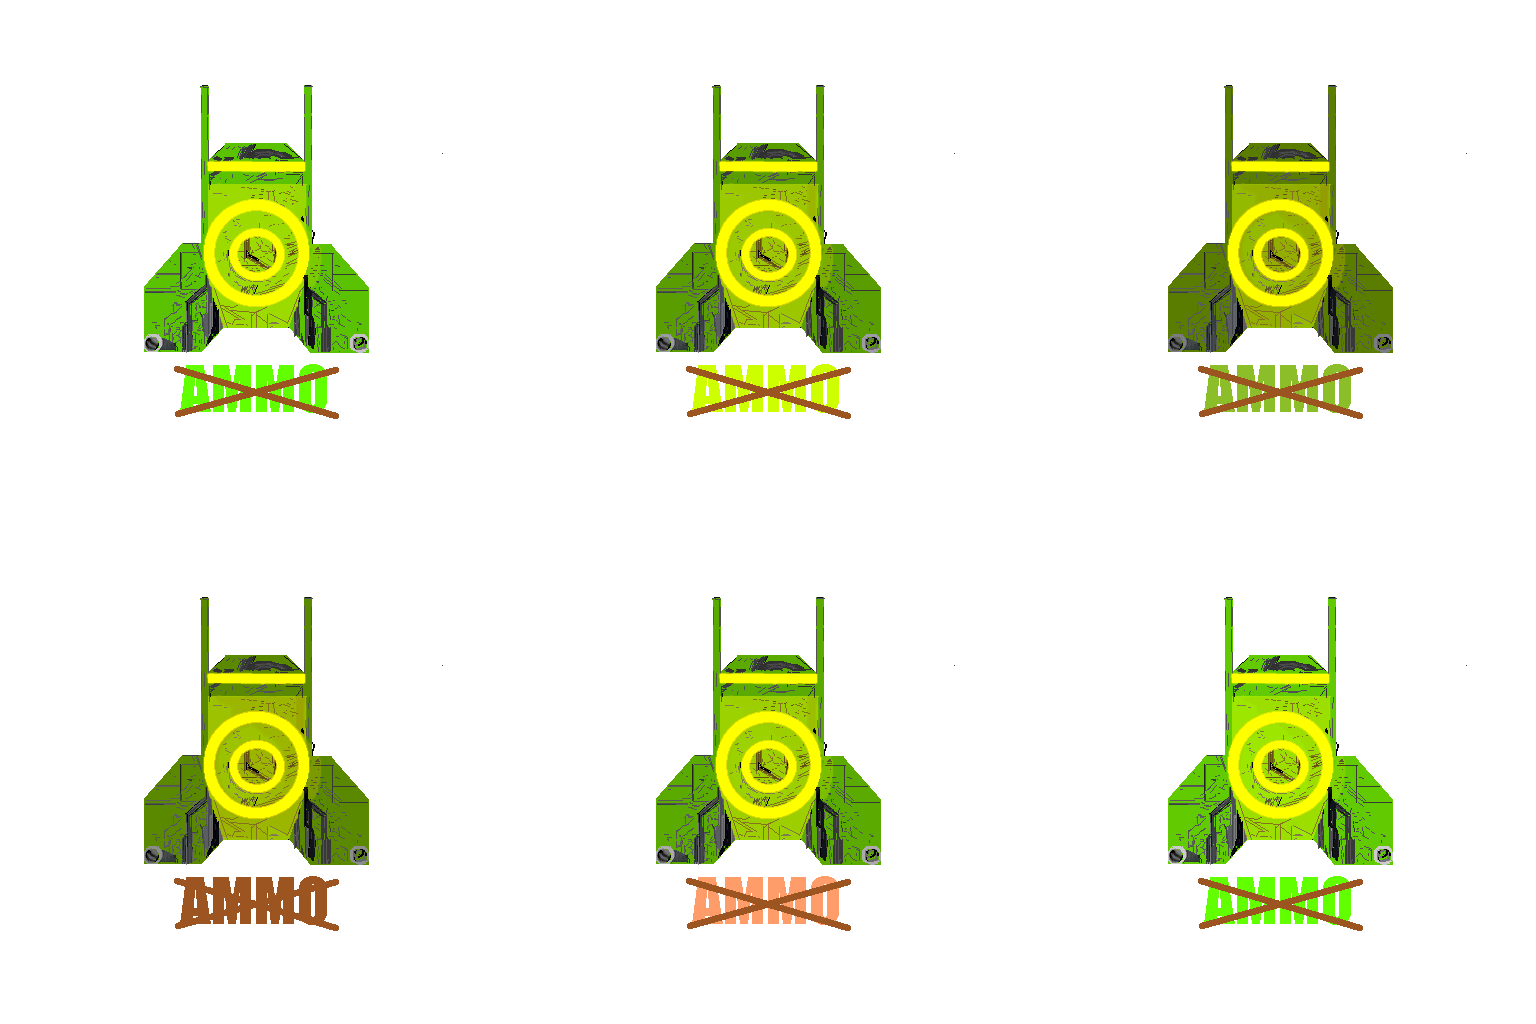
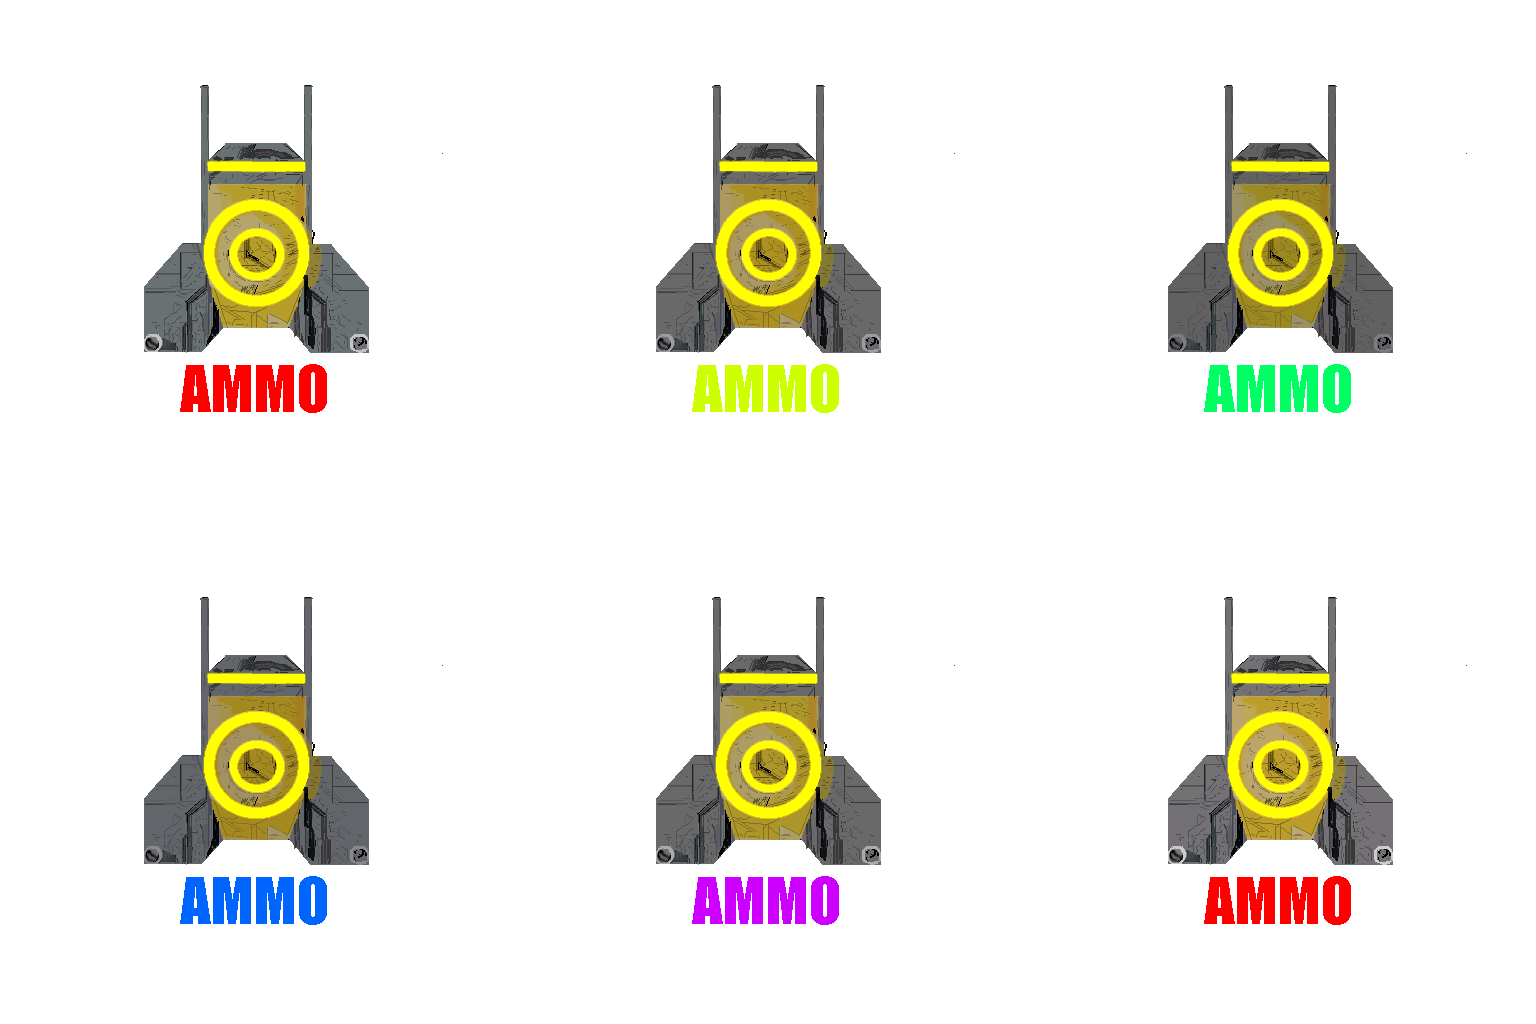
For now, going with an Ammo negative power-up, we need all the usual parts. We’ve already discussed how to create the sprite. To keep it on theme, we will copy our original ammo sprite. We’ll do three things to differentiate it. The first is we’ll draw an “X” across the word “AMMO.” This is a pretty weak differentiator and I’m not really happy with it. But it does convey the message, so we will create a new layer to draw our “X” on in our image file and place it on top of the Name layer.
The second thing will hopefully make it more obvious. We will change the Silhouette layer color from the standard grey we used on all the others to a rather sickly green. Fortunately, this is really easy. Since it is a single color, we just need to select the color and use the eye dropper. Do this for each frame. Interestingly, we don’t even need to change the Silhouette Animation layer from it’s grey, or any of the other layers. Because it’s the bottom layer, it shows through all the others but does not overrun them.
The final thing we will do will likely not even be noticed, but we’ll do it just to keep the theme for the sprite clean. Currently, the Name layer changes color each frame to give it a flashing look. We’ll change some of the brighter, happier colors to ones that are more grungy and generally icky.
Assuming this works, we can basically just do the same thing for any other negative power-ups we add in the future. For now, our new and old sprites look like this.
The coding part is barely worth talking about because it is mostly cut-n-paste. In our Player.cs class we have to add our new powerup to our ever-growing switch statement in the OnTriggerEnter2D(). I’m not really liking this, but I don’t have a better idea at the moment. Also, to keep it simple, we’ll add a new method, ReduceAmmo()to the Weapons.cs class. Finally, in our SpawnManager.cs class we’ll add a new branch to our ugly ChoosePowerUpIndex property.
As you can guess from my tone, while I am pretty happy with the larger structure of my code, it is developing a few ugly spots. Besides the aforementioned switch statement in Player.OnTriggerEnter2D(), the Weapons.ChoosePowerUpIndex property is another spot that has weird magical ties and hidden knowledge. Naturally, I fell right into that trap again. It took me a few minutes to figure out why my new power-up wasn’t appearing. I had copied and pasted a line and adjusted the range. I even did some quick calculations to update documentation on the percentages each power-up should appear but forgot to change the return value.
I fixed it, it worked and all is good. But I am creating a bit of a balloon payment. The last few tasks are showing a need for some more knowledgeable guidance. The basic tasks have been easy enough but creating a balanced feel is much harder. What I have now feels accidental at best and other than trial and error, I just realized I don’t have any knowledge base or experience to leverage. So that sucks.
For now, it’s on to the next task. But I know this is coming, so forewarned is forearmed. Level Design has been on my radar since I first learned what it was. Now I know why. Even at the lowest level, it’s non-trivial.