
Having recreated our own sprite as close to the original ones as possible, we are now creating our second custom sprite. In our previous article we took two different layers whose only change was color, saved them as separate files, switched them from the default color palette to a custom, Indexed Palette and then used the Color Palette to shift the Hue of all colors by 330 degrees, thus changing “yellow” to “orange.”
Next is the name block of our PowerUp. Strictly speaking, I don’t need to go through that whole process for the name layers because I do not plan to change the colors. However, I want to leave myself that option should I change my mind. So, as in the previous article, load up our main PowerUp5 image, create a new blank image and cut and paste both the Name Box and Name Layers into it.
In the process of doing this, I noticed something new. If you select the layer in the timeline, you can select the entire layer, not just the displayed frame. If you see the box outlined, you know you got the entire layer.
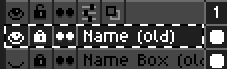
If you see that, you will select all the frames and end up with this in the new image.

Now, for the Shield and Target layers, I didn’t really want this because the image we were modifying was going to be the same in all frames anyway. This time however, the color shift is part of the overall animation, and I want to retain that. To help with that, go ahead and create a new custom palette and add two more layers we can do our work in. We can simplify a bit in this case by disabling the alpha option. We will end up with some shades of white when we start blurring the background, but for purposes, white is just white. The other colors are just for the letters and won’t be modified.
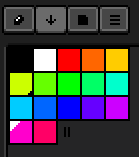
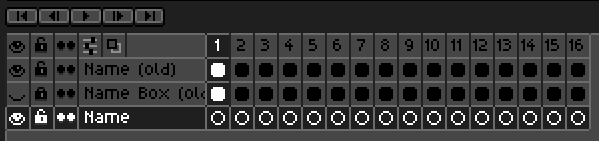
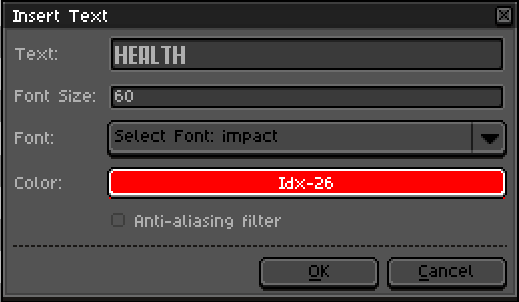
We should now be ready to create our new layers. Make sure you have selected the [new] Name layer and have it unlocked. Then select Edit -> Insert Text (or just type ‘T’) to get the Insert Text dialog. Type in the name of the PowerUp. Set font size to 60. Set the Font to ‘impact.’ Assuming you are on the first frame/cell, select red from the color picker. Deselect Anti-aliasing.
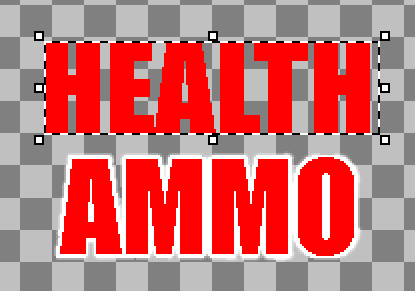
If I did everything right before, the new text should be centered above the old. We can then move it down to position it over the old text.
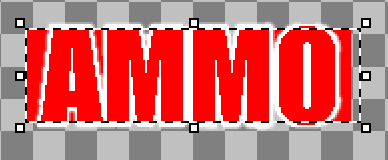
For the next step, hide the old name layer and display the empty new name layer. As an additional guide, you can display the old name box layer also. Then, on the new name box layer, create a solid white rectangle that surrounds the new text. Now hide both the old layers. Make sure the new Name layer is displayed on top (you can reorder them by dragging the layers up and down in the Timeline view) and select the Name Box layer as the current layer. Then, use the Erase Tool to start removing some of the white box so what is left frames the letters.


Once we have our white frame completed, hide the Name Box layer again and display both the old and new name layers. The new name and old name will overlap. Now, using the Paint Tool and the Color picker we can quickly change the color of our text in each frame to match the old color. Do this for all sixteen frames.
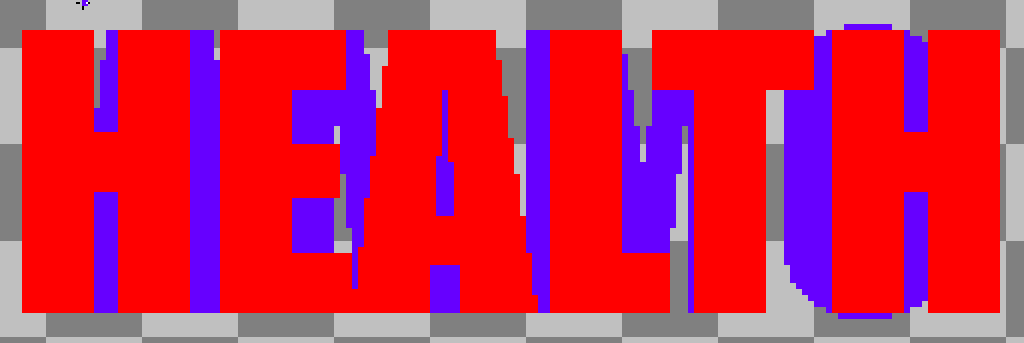
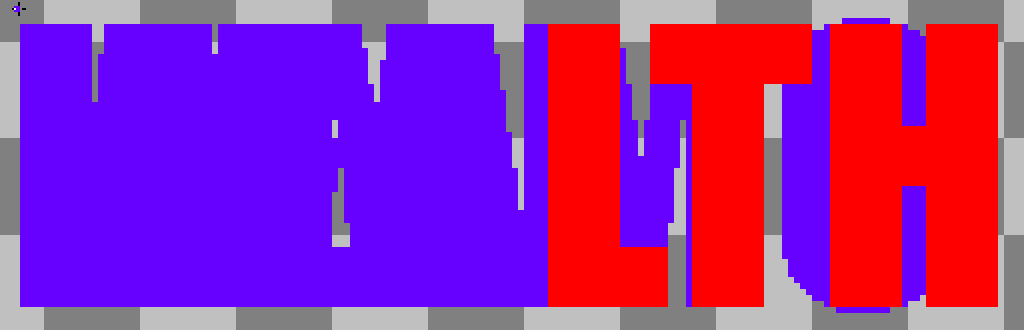
When complete, you should be able to hit the play button in the Timeline view and see the animation.

If everything is working, you can remove the old layers. Note: A layer must be visible and unlocked before you can remove it.

We now have a fairly easy process to create new PowerUp sprites.