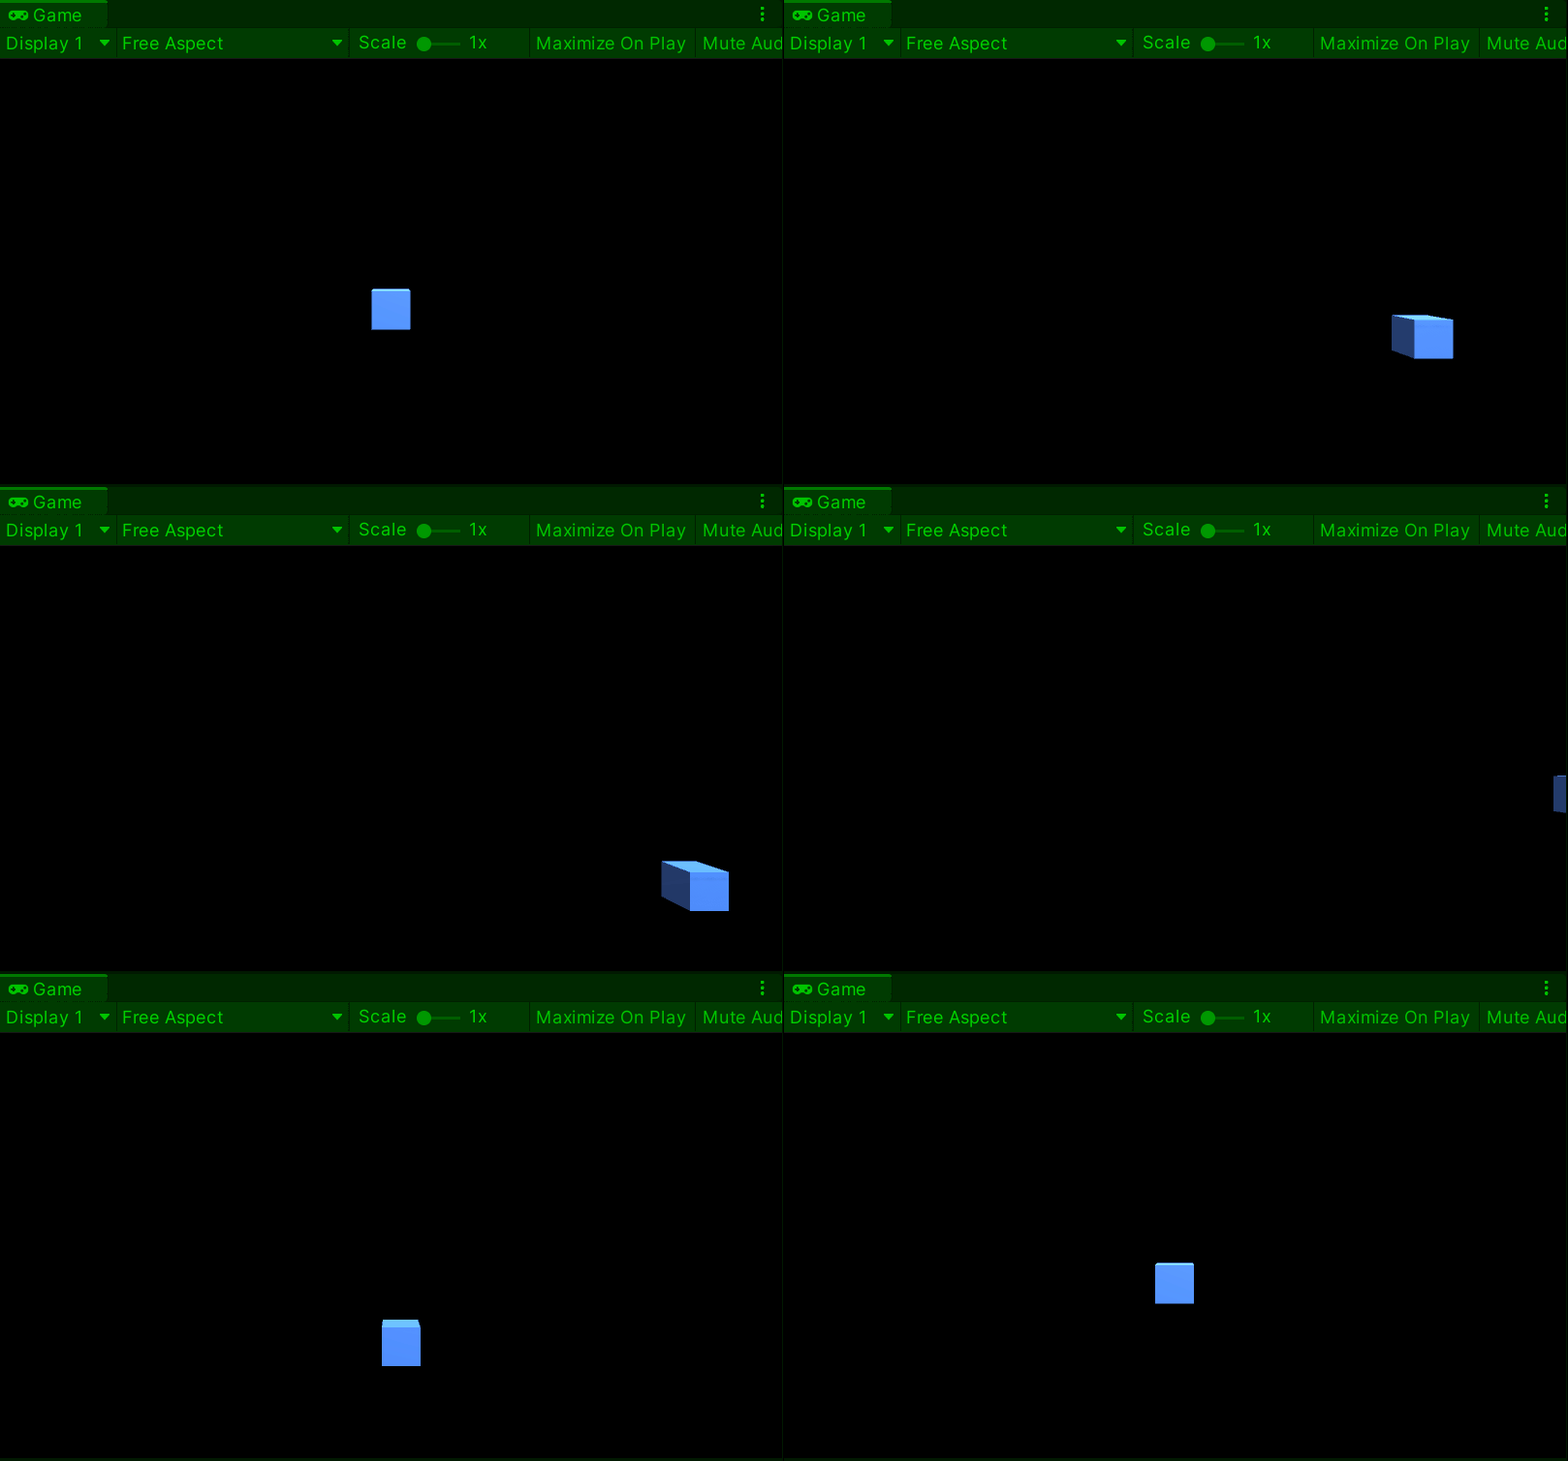
This post comes pretty close on the heels of my previous post because they originally started out as the same post before I decided to break them apart. So, having discussed useful tricks for manipulating the Unity editor, let’s talk code…
Unfortunately, I did not start versioning my code immediately, so some of the progression is lost. Regardless, onward we press.
Before we go too far though, quick quiz. You open up Unity and are ready to start making your game. Where do you begin? If you guessed “create a cube and make it move,” congratulations! I would have missed that one. I would have thought something grander was needed to even get started. Which, when it comes right down to it, is pretty lame on my part. After all, with any programming I’ve ever done in the past, I always start with the smallest working code, especially when working with something new. The more “newness” involved (language, framework, environment, business, etc.) the more likely I am to literally start with “Hello, world!” So, it should have been a no-brainer we’d start the same way with game development.
Now, I’ll flash forward and warn you, when your spouse comes up to yell at you to go to bed and you gleefully show off the fact you can now make a cube move on screen, don’t expect particularly high praise. But I promise you it will be exhilarating all the same, even if the uninitiated fail to see the potential.

With the above goal in mind, let’s get our code on. Believe it or not, it takes surprisingly little code to actually make the above demo work. Unity does all the heavy lifting and the video walks you through the little scripting quite extensively.
First, we snap our cube to the proper staring position by hard setting its position to coordinates (0, 0, 0) in the Start() method. This ensures game start is not influenced by any runtime, development or testing vagaries. Our Update() method then calls our CalculateMovement() method every frame; approximately 60 frames per second. The CalculateMovement() method then does three basic things; Gets the current movement information (listens for which direction keys are being pressed), sets the new position, then checks the player boundaries and adjusts as needed.
Since this is our first bit of code, the video does a pretty thorough job of walking through it. I did particularly like the Mathf.Clamp() function. First of all, I would never have thought to look for such a function. Second, I am generally not a fan of the else if() {} clause. I find it cumbersome and error prone. I have an unjustifiable belief that too much else-if’ing is a sign of an incomplete understanding of the workflow. The Mathf.Clamp() function allows us to elegantly remove one of these icky constructs from our code.
The video ends by leaving the final else if() {} clause. Recall, the requirement for the x-axis (right and left) boundaries is once the player goes off screen, the game object should “teleport” to the other side. That’s why we can’t just use the Mathf.Clamp() function here also. Since we are already being encouraged to “make it our own,” I did a little more thinking and ended with the following instead of the if () {} else if() {} check for the x-axis boundaries.
        if (Mathf.Abs(transform.position.x) >= 11.5f)
        {
           transform.position = new Vector3( transform.position.x * -1
                                           , transform.position.y
                                           , 0
                                           );
        }
All this code does is recognize our check for the left and right boundaries is nothing more than a +/- test. The right boundary is the positive value and the left boundary is its negative. Thus, instead of checking for a positive x value of 11.5 AND a negative x value of 11.5, we just check the absolute value of our x position. As for setting our new x value, that is nothing more than going to the same place on the opposite side. aka, multiply by -1. Walla! No more icky else if() {} clause!
Below is the full code in all its glory with a link to this version in GitHub.
using System.Collections;
using System.Collections.Generic;
using UnityEngine;

public class Player : MonoBehaviour
{

    [SerializeField]
    private float _speed = 3.5f;

    // Start is called before the first frame update
    void Start()
    {
        transform.position = new Vector3(0, 0, 0);
    }

    // Update is called once per frame
    void Update()
    {
        CalculateMovement();
    }

    void CalculateMovement()
    {

        // get position information
        float horizontalInput = Input.GetAxis("Horizontal");
        float verticalInput   = Input.GetAxis("Vertical");
        Vector3 direction     = new Vector3(horizontalInput, verticalInput, 0);

        // set next position
        transform.Translate(direction * _speed * Time.deltaTime);

        //check screen boundaries
        transform.position = new Vector3( transform.position.x
                                        , Mathf.Clamp(transform.position.y, -3.8f, 0)
                                        , 0
                                        );
        if (Mathf.Abs(transform.position.x) >= 11.5f)
        {
           transform.position = new Vector3( transform.position.x * -1
                                           , transform.position.y
                                           , 0
                                           );
        }

    }

}

